
Reports
Save Report
Print Report
Report Categories
Package Sales
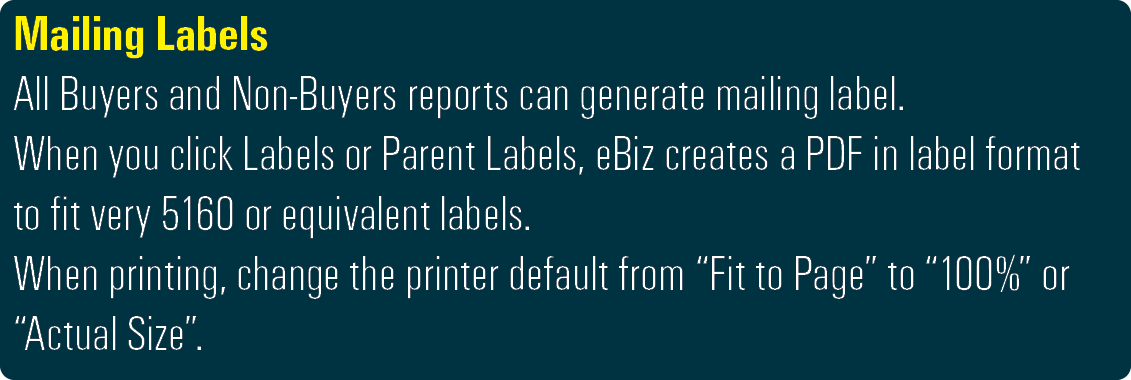
Mailing Labels
Ad Sales
Order Totals
Distribution
Personalization
Submit Personalization
Print Receipts
Using eBusiness reports, you can generate lists of information sorted in different ways and save that information to a spreadsheet or a PDF. The reports can help you manage your budget, design your pages, and determine potential customers.
1. From the Run Reports menu,
2. Select Yearbook Sales Reports.
Reports Overview Video: ![]()
Click here for Sort and Filter Tips ![]()
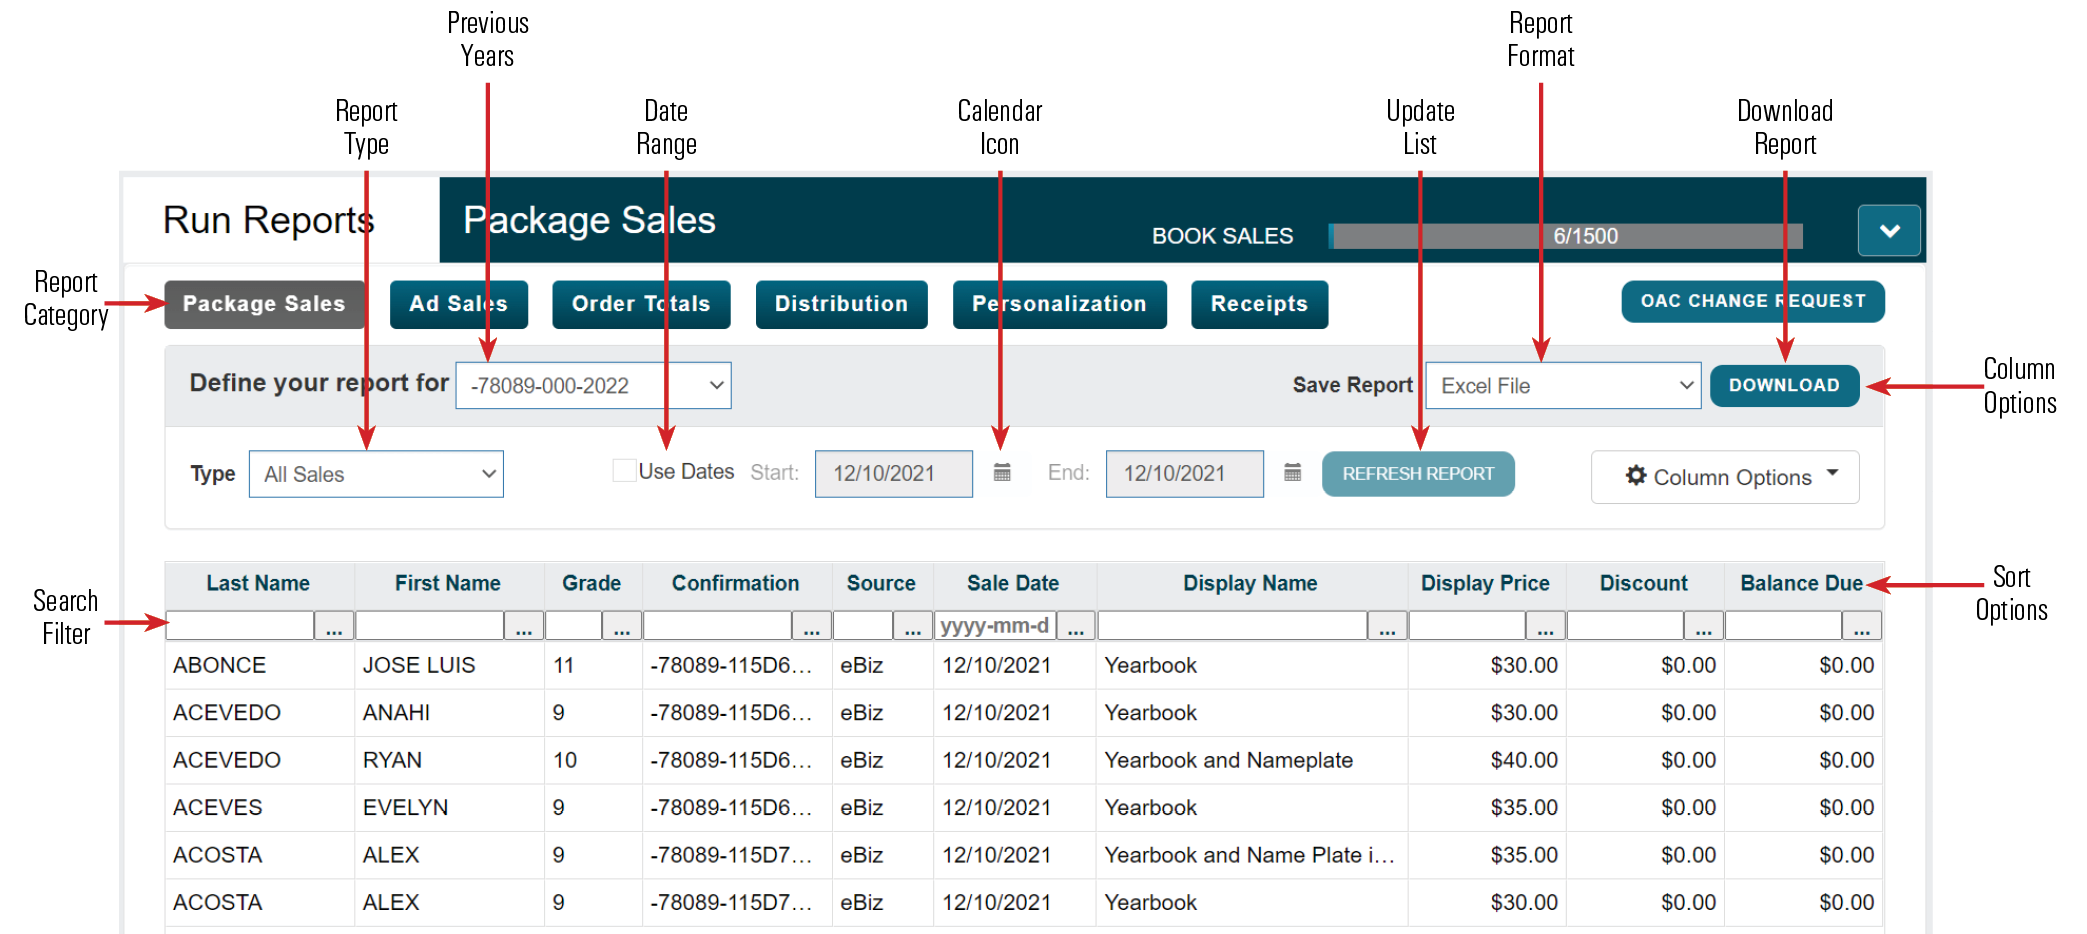
To save a report for printing:
1. Select the desired report category.
2. Select the report type, search filter, and/or sort options.
3. Narrow the search with the date range and
….Click the Refresh button.
4. Remove any unnecessary columns by dragging the header away.
5. Arrange columns in desired order by dragging and dropping.
6. Adjust column widths by dragging the column divider.
7. Select Excel File or PDF File, as appropriate.
8. Click the Download button.
9. The report will automatically download.
To print the report file:
10. Open the downloaded report file.
11. Go to the File menu > Print (CTRL/Cmd+P).
Package Sales
All Sales: Lists each item ordered by each person, organized by the selected sort option.
In School Sales: Lists buyers who made their purchase in school.
YOC Sales: Lists buyers who made their purchase online or through calling the Order Center.
Balance Due: Lists buyers who have an outstanding balance.
Amount Recv’d: Lists buyers who have made payments.
Ybk Not Recv’d: Lists buyers whose yearbook is not marked as received.
Non-Buyers (Students): All students, listed in eBusiness, who have not yet ordered a yearbook.
Buyers (All): Lists only names with orders.
Ad Sales
All Sales: Lists buyers who made an ad purchase.
In School Sales: Lists buyers who made their purchase in school.
YOC Sales: Lists buyers who made their purchase online.
OAC Sales: Lists buyers who created and purchased their ad online.
SAC Sales: Lists buyers who purchased ad space online.
OAC Statuses: Lists all ads within Online Ad Creator.
Balance Due: Lists all unpaid in-school ads ordered.
Amount Recv’d: Lists ad orders for which no payment has been received.
Art Not Recv’d: Lists ad orders for which no art has been marked as received.
Sold By: Lists in school ads sold by an individual or group.
Buyers (Business): Lists all businesses who have purchased an ad.
Buyers (Students): Lists all students who have purchased an ad.
No Book Buyers (Students): Lists ad orders but who have not purchased a yearbook.
Non-Buyers (Business): Lists businesses who have not purchased an ad.
Non-Buyers (Students): Lists students who have not purchased an ad.
Order Details
All Sales: Displays a count of packages sold and dollar totals.
All Yearbook Ads: Displays a count of ads sold and dollar totals.
All Items: Displays a count of the individual items sold.
Distribution
All Packages: Includes details of package purchase and the amount due for collection at delivery.
YOC Packages: Includes detail of packages purchased online or through the order center.
Shipping: Lists buyers with shipping addresses.
Custom Items: Includes detail of purchase and amount due for collection at delivery.
Financial: Lists buyers.

Tracking Yearbook Distribution Video: ![]()
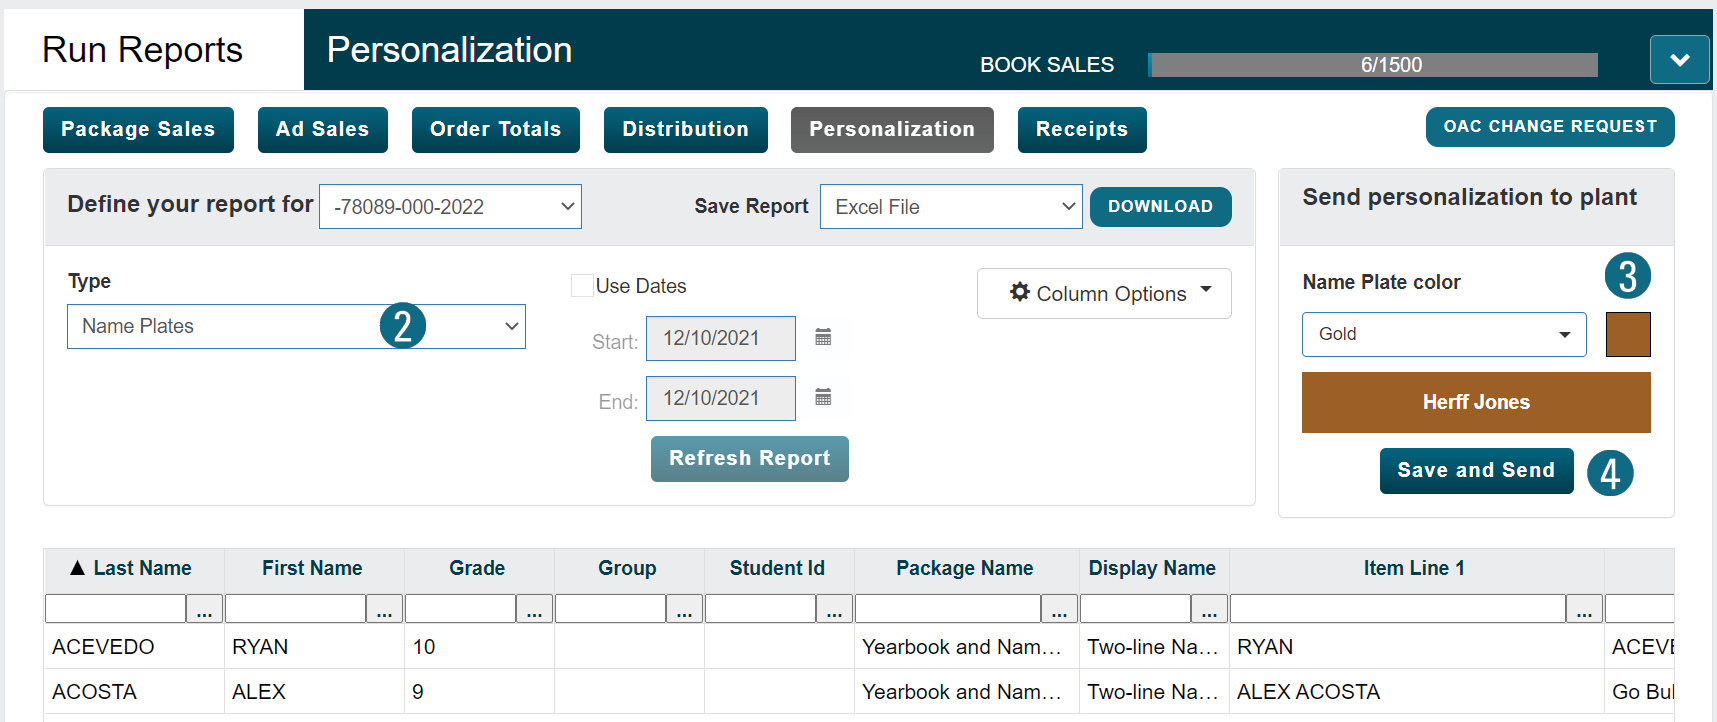
Personalization
Name Stamps: Lists all of your Name Stamp information. You then need to upload or email this file to your producing plant.
Name Plates: Creates a small file with all of your Name Plate information. You then need to upload or email this file to your producing plant.
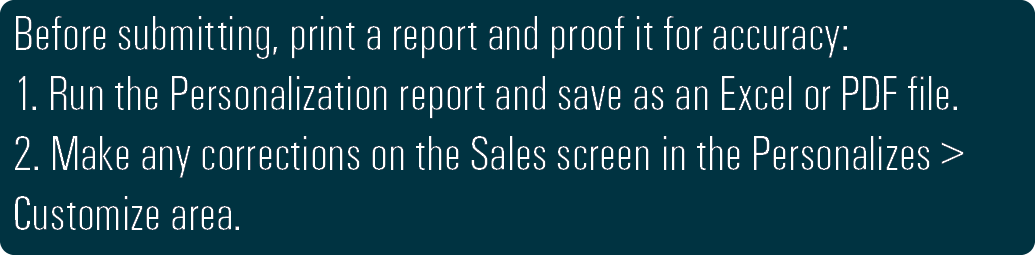
To submit personalization:
1. Submit a separate reports for the name stamps and name plates.
2. Select the necessary personalization type.
3. Choose a color for the name stamp/plates.
4. Click the Save and Send button.
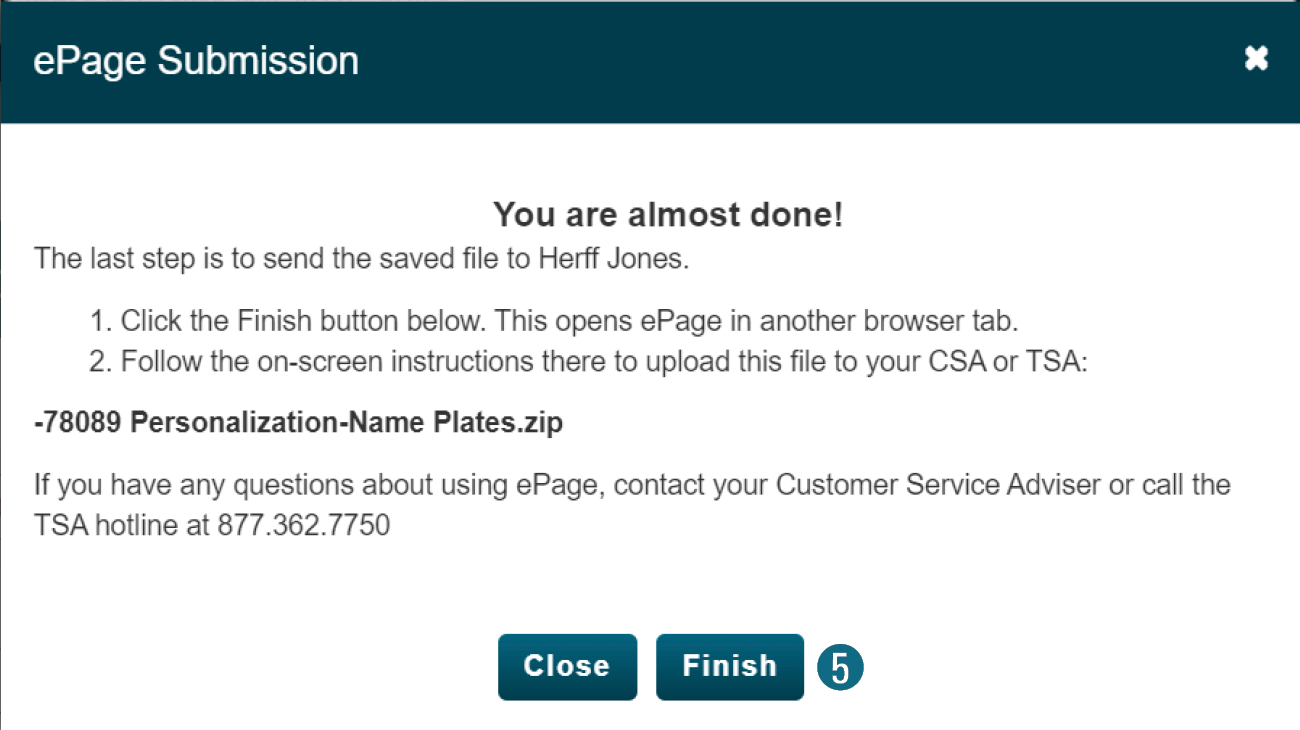
5. Click the Finish button.
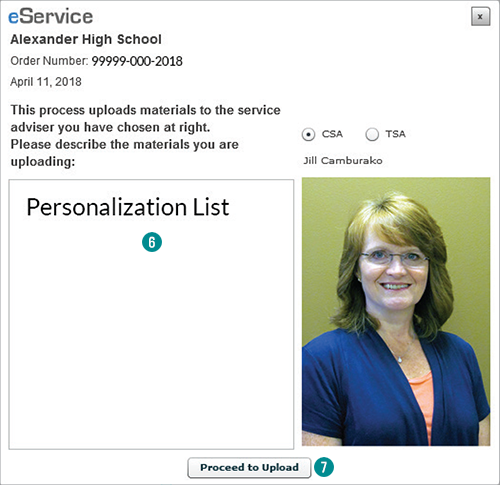
6. Enter a brief description of the upload.
7. Click the Proceed to Upload button.
8. If necessary, click OK to Permissions Required window.
9. Navigate to your download location.
10 Select the Personalization zipped file.
11 Click the Open button.
12. Click the next two OK buttons.
13. Close the upload and ePage windows.
eBiz Receipts
No Receipts: Lists all receipts which have not been previously printed.
With Receipts: Lists all receipts which have been previously printed.
To print receipts:
1. Select the necessary report type.
2. Check the box next to the desired names.
3. Set a date range if necessary.
4. Select the Save Report type.
5. Download the report.
6. One page will be created for each checked name.
![]()
![]()
![]()
![]()